How to upload a new torrent (Updated June 2020)
This guide describes how to create a torrent for uploading to the tracker at https://torrent.genesis-movement.org
Firstly, please familiarise yourself with the basics of torrenting and peer-to-peer file sharing. A good beginners guide can be found here.
This guide will use the uTorrent client which can be downloaded from here. Other clients are available, but this is the one I use PC based torrenting. The same theory should apply to most clients.
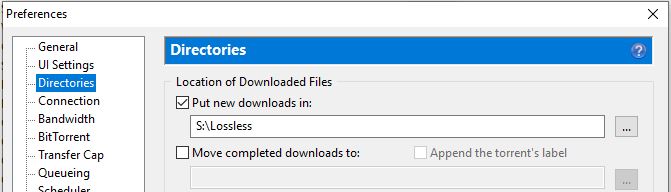
Step 1. The first thing to do is ensure that you have the show you wish to torrent in a directory on your hard disk. These are the files that we will make the torrent from. These files should be in the same location as your default download directory in utorrent. Eg. in uTorrent, if you look in Options -> Preferences -> Directories, you will see a "Put New Downloads In:" option.
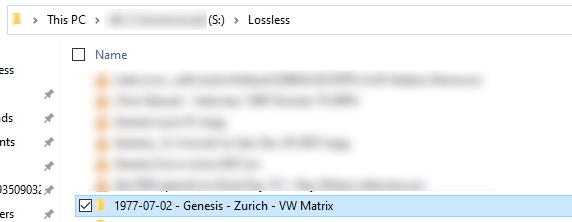
Set this to where you want to save your downloads, and place anything you want to upload in this directory too. eg. if you want to upload a folder called '1977-07-02 - Genesis - Zurich - VW Matrix', place it in this folder.
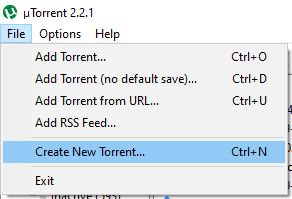
Step 2. Start the torrent client on your PC. In this case, I am using the uTorrent client.
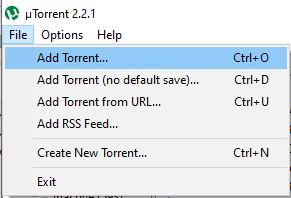
Step 3. From the File menu, select Create New Torrent.
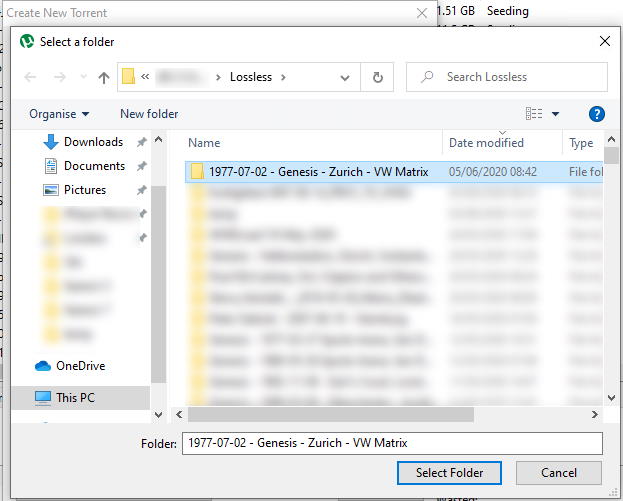
Step 4. In the Create New Torrent dialogue box, Click Add Directory and select the folder that holds your show. Eg. S:\Lossless\folder_to_upload
Step 5. Ensure that the URL 'https://torrent.genesis-movement.org/announce.php' is in the Trackers field.

Step 6. Click the Create And Save As.. button.
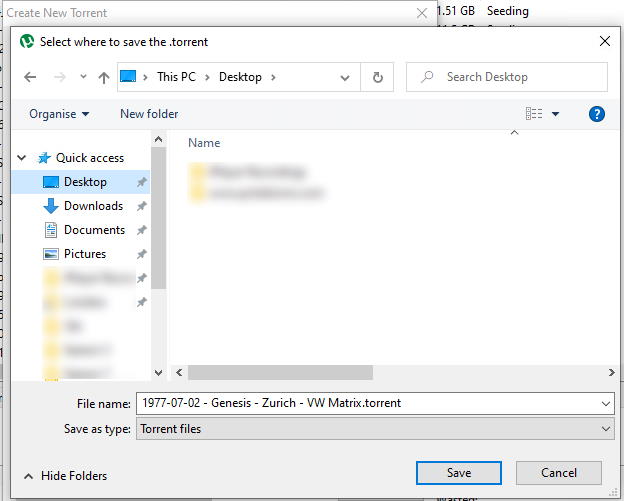
The .torrent file will now be created and you will be prompted to save it. You will need this file in a minute...
IMPORTANT : Do NOT save this file to the default location. uTorrent will default to save it in the current directory, but you MUST save it outside of the folder you're uploading. For example, save this file to the Desktop.
If you save this file in your upload folder, your torrent will not seed and will be deleted automatically by the system.
Step 7. Open a browser and go to https://torrent.genesis-movement.org
Step 8. Ensure that you are logged in to the site. New users will need to register.
Step 9. At the top of the screen, you will see the words Upload Torrent. Click on that link.

Step 10. The Upload A Torrent page will now be displayed. Before you upload, it is essential that you read and understand the upload rules https://www.genesis-movement.org/images/how-to-torrent/howtotorrent2020.html

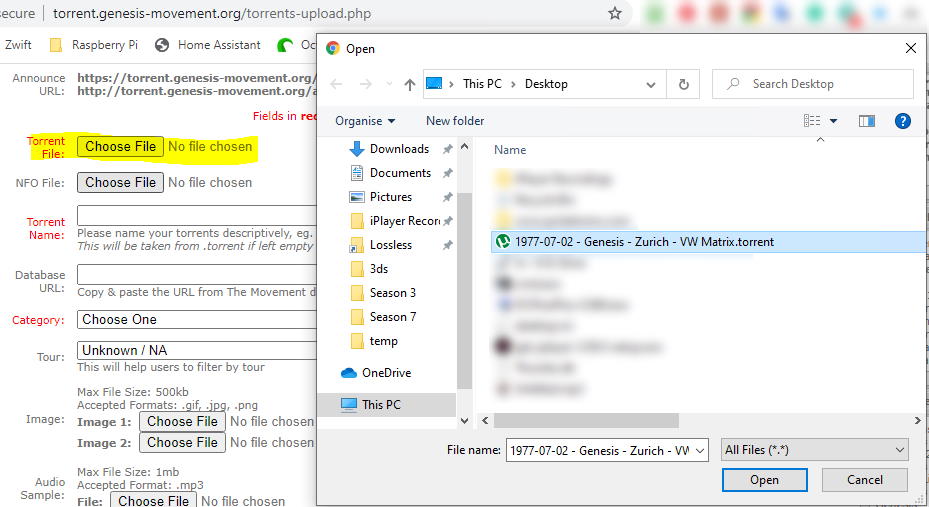
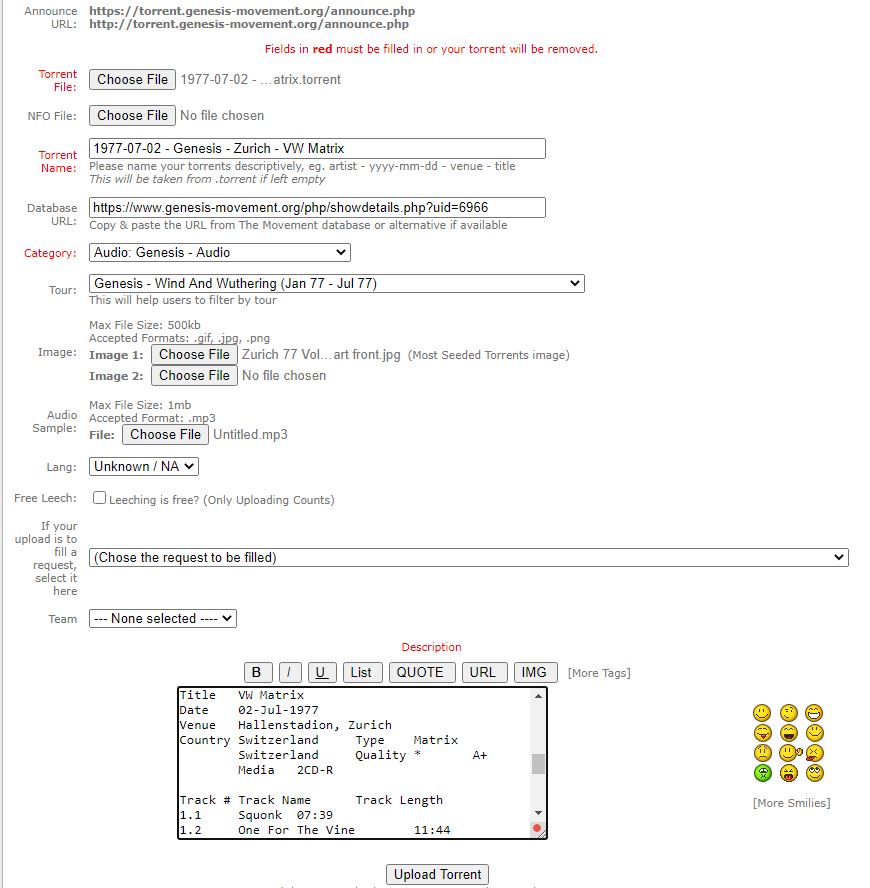
Fill in each of the fields with the information required. You must fill in the fields marked by red text in the picture below.
The Torrent File in the first "Choose File" selection is the .torrent file you created and saved to the desktop in Step 6
Torrent Name - will be automatically populated with the .torrent filename unless specified otherwise.
Database URL - can be populated from the main bootleg database at https://www.genesis-movement.org if it's available.
Category - select an appropriate audio or video category for this torrent
Tour - Select the tour that this torrent belongs to (helps people to find it later)
Image - If you have a front / back cover image, it can be uploaded here (Note the maximum file sizes and formats)
Audio Sample - If you have an audio sample, it can be uploaded here
(Note the maximum file sizes and formats)
Free Leech - Select this if you want the torrent to be 'free'. No torrents actually cost real money, this just affects whether a downloaders ratio is affected or not
Description - It is essential that a description is added here. For example, a track listing and notes.
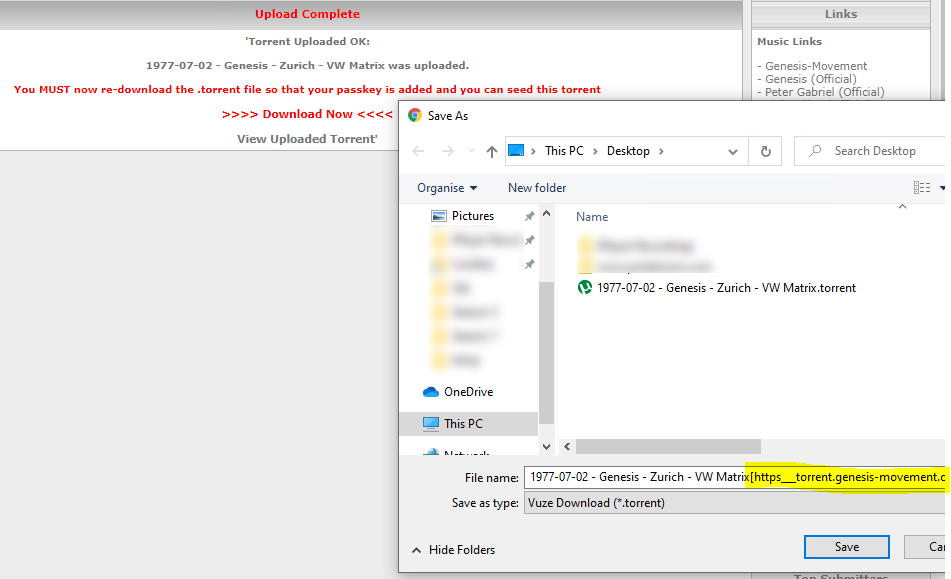
Step 11. Click on the Upload Torrent button. Your .torrent file will now be uploaded and you will see the following screen. This may take a few seconds...

It is essential that you now re-download the .torrent file you just uploaded as it will have been modified with user specific information. Click on the >>>> Download Now <<<< link as depicted above.
Save the .torrent file to the same location as before in step 6 on your hard disk. It will have the same name, but will also contain the words [torrent.genesis-movement.org] in the file name as highlighted below in yellow;
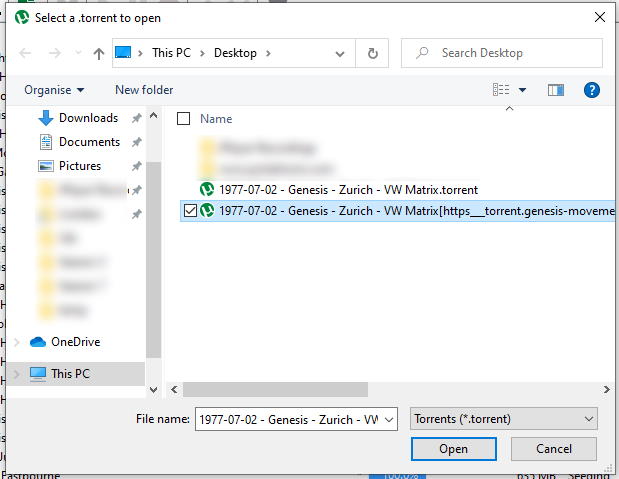
Step 12. We now need to add the torrent to the client. Go back to your torrent client, and from the File menu, select Add Torrent
Select the .torrent file from your save location in step 11. Note, you must select the file with the extended file name as below
Your client will now go through a process of Checking Existing Data. This ensures the integrity of the files to be torrented. Once that is complete, you will see your torrent being seeded. You will not see your torrent listed on the site until you start seeding.

If all went correctly, you will now see your torrent seeding.

You are now seeding a torrent! Leave your torrent client running! Without this running you will not be sharing your torrent
Back on the torrent website, you will now see your torrent listed.
